Why Your Cat Litter Box Smells Like Ammonia: Causes + Fast Fixes (With a Simple Cleaning Schedule)
Have you ever scooped the litter box, topped up fresh litter, and still noticed a sharp “ammonia” smell a few hours later—so strong it stings your nose?

In most cases, it’s not because you’re doing something “wrong.” It happens because cat urine sits for a while, bacteria break down urea, and ammonia gas builds up. Warm temperatures, high humidity, and poor airflow can make the smell much worse—fast.
This guide walks you through:
-
why ammonia odor happens,
-
what to do today for quick relief,
-
a simple daily/weekly routine to keep things fresh long-term,
-
and how to upgrade your litter setup if needed.
1) Why does the ammonia smell get stronger over time?
Fresh urine doesn’t always smell intensely like ammonia right away. But as it sits, bacteria begin breaking it down, and the ammonia odor becomes more noticeable. If the room is warm or humid and the area doesn’t ventilate well, the smell can “hang” in the air and feel much stronger.
5 common reasons ammonia odor gets worse
-
Heat and humidity (odor builds up faster in warm, damp air)
-
Not scooping often enough (clumps sit longer = stronger smell)
-
Too little litter depth (urine reaches the bottom and lingers)
-
An old/scratched litter box (residue sticks in micro-scratches)
-
Not enough boxes in multi-cat homes (usage spikes and odor accumulates)
2) When the smell might be a health warning
Most ammonia-smell issues are about routine, environment, or litter choice. But if your cat shows any of the following, contact a vet:
-
straining or signs of pain while urinating
-
frequent trips to the box with little output
-
blood in urine or unusual urine color
-
sudden changes in litter box habits
These can be signs of urinary issues and should be checked promptly.
Note: This article is for general information and does not replace veterinary advice.
3) Fast results today: a 3-step “odor drop” plan
Step 1 — Reduce “sit time”: scoop more often
Before buying anything new, try this: increase scooping from once a day to twice a day (or more for multi-cat homes). This alone often makes a big difference immediately.
Step 2 — Improve airflow and lower humidity
-
Avoid placing the litter box in a sealed, stuffy corner
-
Keep gentle air circulation (without blowing dust everywhere)
-
If your home is humid, consider a dehumidifier nearby
Step 3 — Remove hidden residue: wash the box correctly
-
Wash with warm water + mild soap, scrub corners and seams
-
Rinse thoroughly and let it fully dry before refilling
-
If urine has reached mats/floors, use a pet enzyme cleaner to break down residue
Safety tip: Never mix bleach with ammonia-based cleaners—this can create toxic fumes.
4) The easiest long-term fix: a simple daily + weekly schedule
Big deep-cleans “once in a while” are less effective than a consistent routine.
Daily (1–2 minutes)
-
Scoop poop and urine clumps (at least once; twice is better for odor control)
-
Top up litter so clumps form properly and don’t stick to the bottom
-
Wipe the rim/entrance area (especially if your cat tends to splash)
Weekly (10–15 minutes)
-
Empty litter → wash the box → dry completely → refill with fresh litter
-
Wash/replace the litter mat and wipe the surrounding floor
(Many “ammonia” smells are actually coming from the mat.)
Multi-cat rule that really works
A practical guideline: number of litter boxes = number of cats + 1, and place them in different spots to reduce traffic and odor buildup.
5) Upgrade from the source: litter, litter box design, and placement
Once your routine is solid, upgrades become much more effective.
Better odor control starts with the right litter
-
Choose litter that absorbs fast and clumps quickly (it “locks” urine sooner)
-
Be careful with heavily perfumed litter—often it masks odor instead of solving it
Choose a litter box that stays fresher
-
Bigger space reduces splashing and residue
-
Smooth, easy-to-clean surfaces help prevent odor from sticking
-
If you use a covered box and notice “trapped” odor, try improving ventilation or switching to a more breathable design
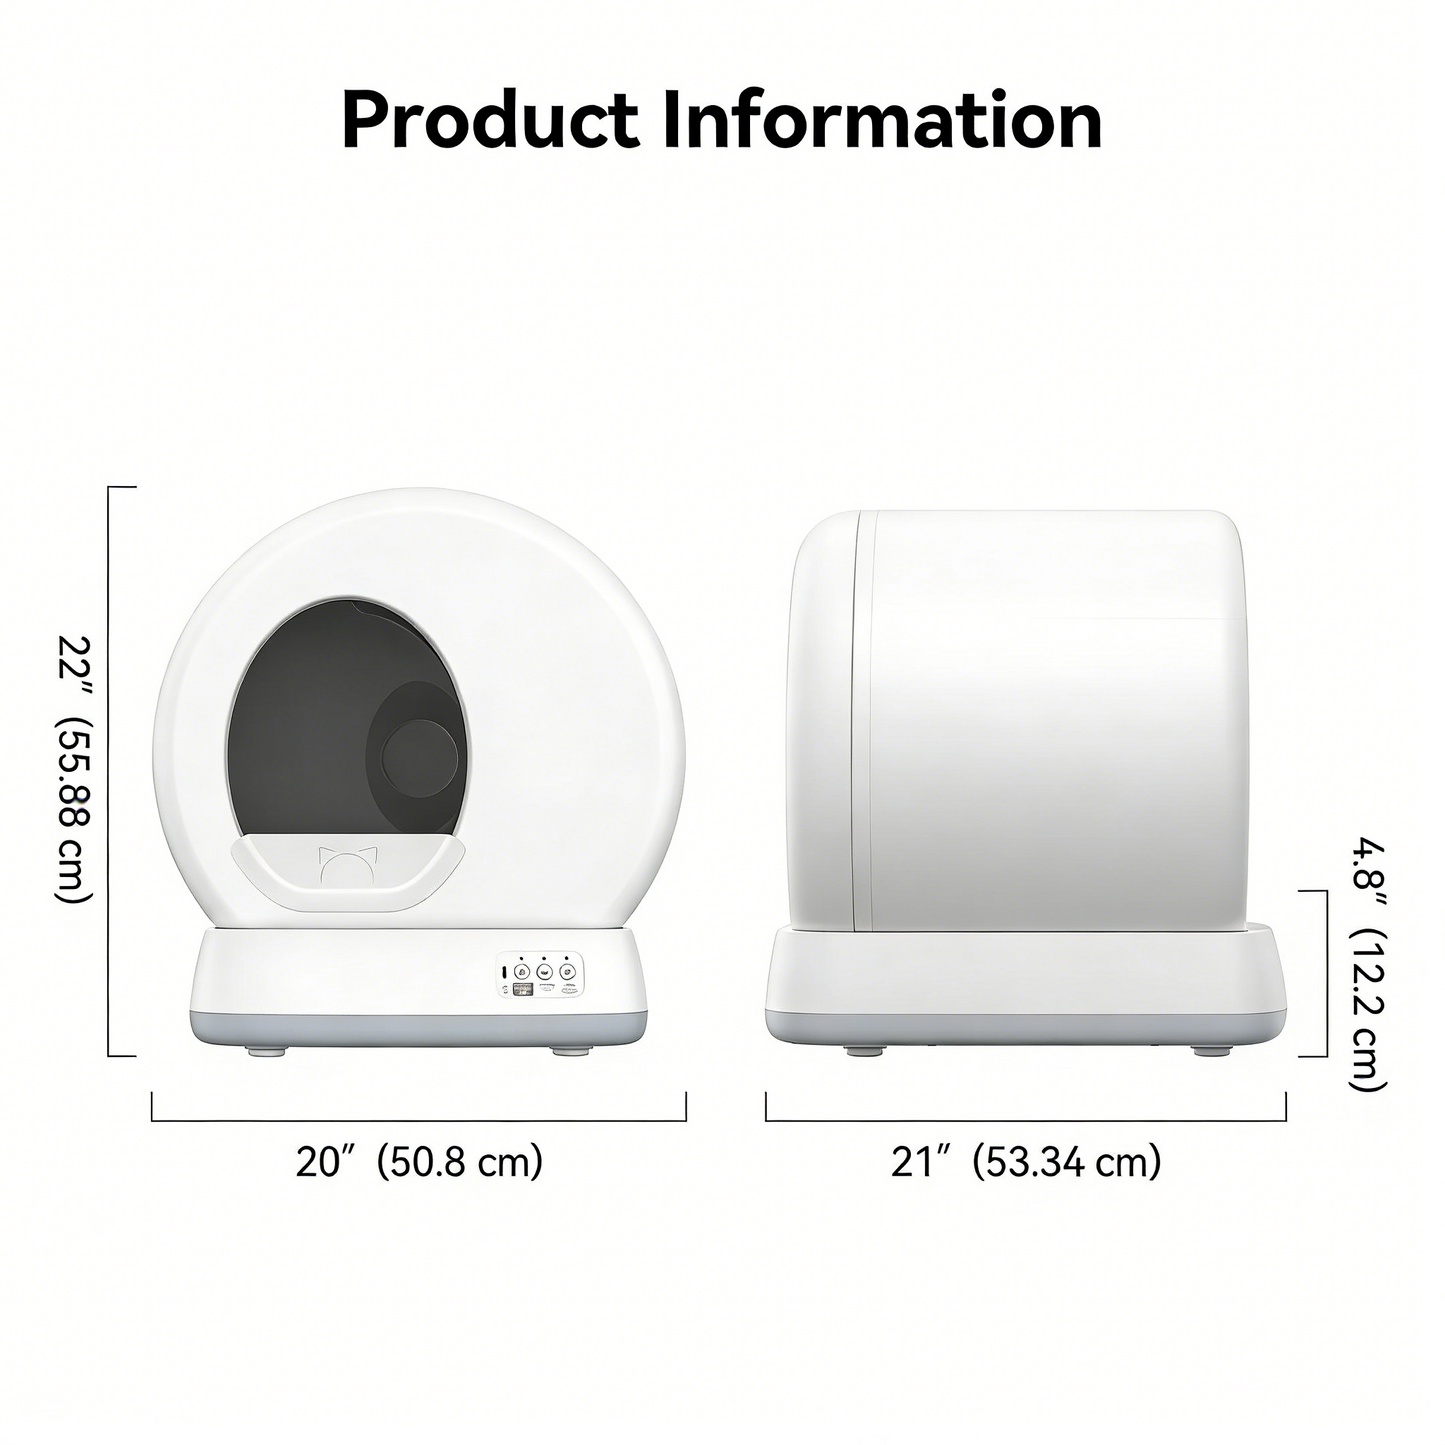
If you’re shopping for a new litter box: prioritize easy cleaning, smooth interior surfaces, and enough space for your cat—then pair it with the schedule above for the best results.
6) A quick checklist (save this)
-
Scoop twice daily for 7 days
-
Move the box to a better-ventilated area; reduce humidity if needed
-
Do a full wash weekly (empty → wash → rinse → dry → refill)
-
Add boxes for multi-cat homes (cats + 1)
-
Upgrade litter/box only after the basics are consistent
-
If you notice painful urination or blood, contact a vet
FAQ
Q1: Why does it still smell right after cleaning?
Residue may be trapped in seams or scratches, or the box wasn’t fully rinsed/dried. Scrub thoroughly and let it dry completely before refilling.
Q2: How deep should the litter be?
Start around 2–3 inches (5–8 cm) and adjust so clumps form well without sticking.
Q3: Are covered litter boxes more likely to smell?
They can be, because heat and humidity get trapped. Better airflow or a more ventilated design often helps.
Q4: Can I use bleach to disinfect the litter box?
Avoid routine bleach use, and never mix bleach with ammonia-based cleaners. Mild soap + warm water is usually enough for regular cleaning.
Q5: What’s the #1 fix for multi-cat homes?
Enough boxes and frequent scooping—cats + 1 boxes plus a steady routine.
Ready to Upgrade Your Cat's Litter Experience?
Discover Littercore's self-cleaning litter boxes — designed for cats, built for modern homes.
🚚 Free Shipping | ↩️ 30-Day Returns | 🛡️ 1-Year Warranty